The Construction Process
STAGE 1: DECONSTRUCTION & PREP

 |
 |
 |
Commencing with the
deconstruction of one of the two pallets, this pallet will function as the
structure which will house the plants.
The centre pallet slats are
removed along with the nails; these slats are to be reused in the wall to add
additional openings within the wall which allows the structure to house more
plants.

The deconstructed pallet and window
are placed together to give us a preliminary idea on where the window will be
placed, and their scale.
 |
 |
 |
 |

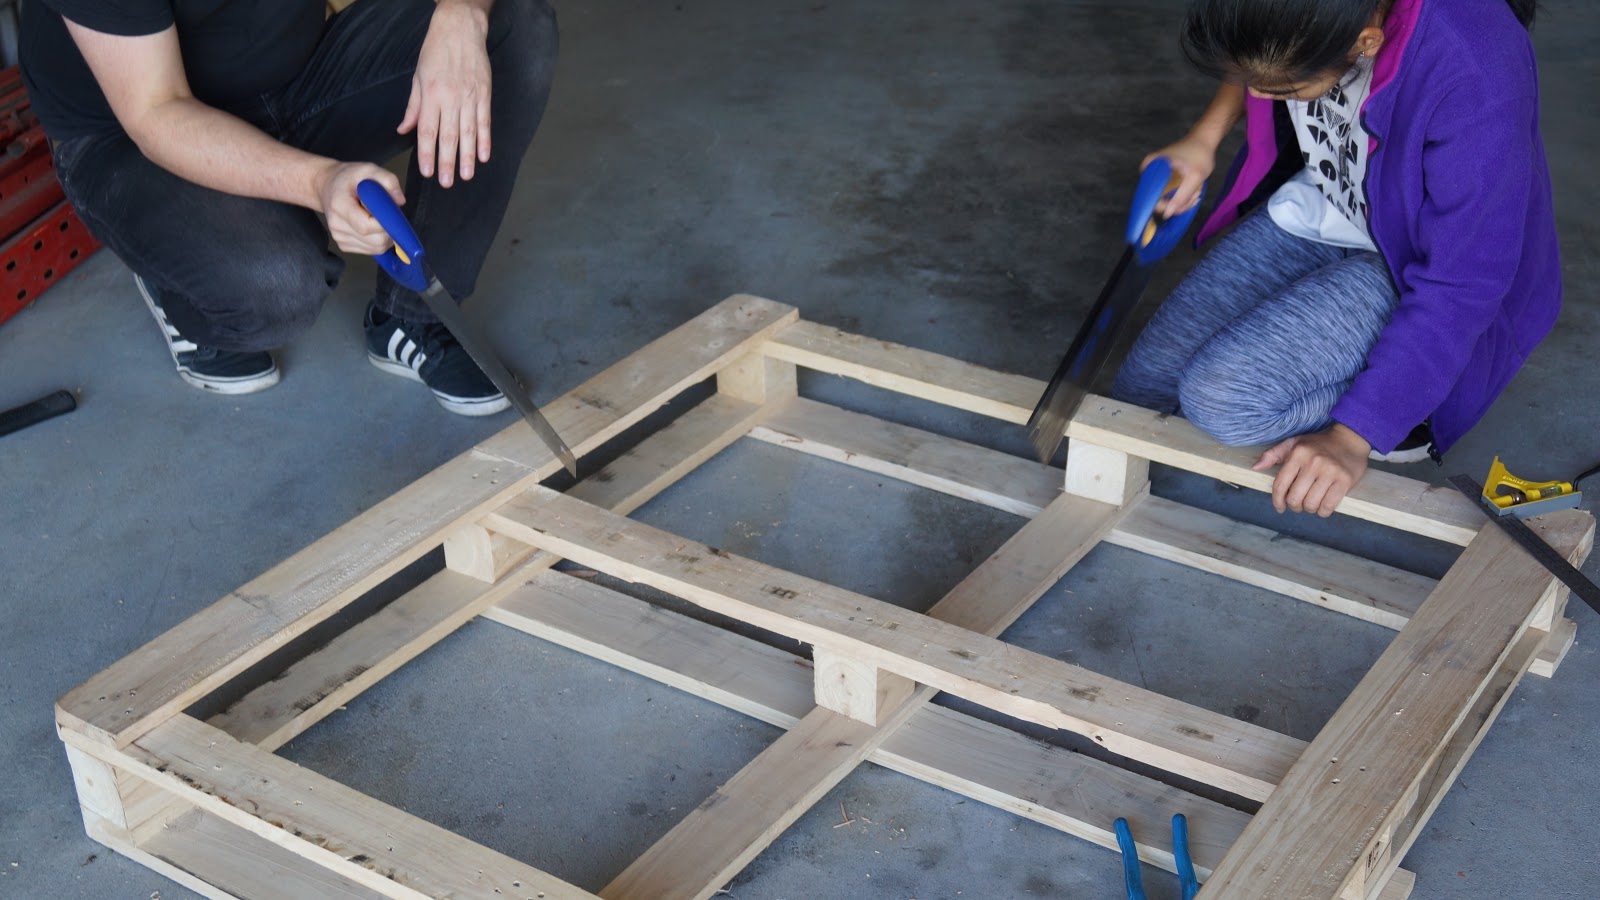
Taking into consideration of the
window size, we decided to remove a corner of the pallet, as this was the most time effective and retained
a majority of the original palette (adverse to cutting a hole in the centre of the
pallet). The top right section of the pallet is sawed off and serves as the
window opening.
STAGE 2: RECYCLED BOTTLES

Throughout the duration of the
wall project, we have been collecting empty 2L soft drink bottles, which were
cleaned out to be reused as the ‘pots’ which will house the plants.
The 2L bottle necks are cut of: 2 cut bottles are then overlapped together and then hot glued together, to create a more structurally sound pots.
 |
 |
Early tests of hot gluing the
bottles together in a single strip resulted in overheating the bottles, which
resulted in warping.

 |
 |
Splitting into 2 groups, Billy
and Arneth began hot gluing the bottles together, whilst the other members
continued with the pallet.
Through trial and error, we found
the best method to hot glue the bottle ends together was to ‘stitch weld’ using
the hot glue; this was a result of the bottles melting at the seam, which
warped the form and made for less uniform bottles. The stitch weld allowed less
warping and resulted in consistency throughout all the plant holders.
 |
 |
Slots were then cut into each
plant holder; this served as the opening for the plants to protrude out of. The
slots were the best solution, as they would house both the soil and plants, without
compromising the strength of each bottle.

 |
 |
4 holes were then marked and
drilled at the bottom of each plant holder; these holes allow water to escape
out of each plant holder, avoiding drowning the plants and improving the wall’s
permeability.
STAGE 3: PALLET STUD WALL
During the design stage of the project, we considered placing the pallet that houses the plants in front of a brick wall and use the pallet as a facade for an existing brick wall. But, because we had an extra pallet, we
agreed to re-purpose our extra pallet as a ‘stud wall’ which will house the window,
and sit behind the first pallet which houses the plants.
 |
 |
The top right corner of the wall,
similarly to the first pallet, was cut in order to house the window.
 |
 |
We placed the window atop the cut
pallet to gauge how it would it within the wall, and it was decided to fix
additional timber members from the cut pallets to reinforce the structural integrity
of the wall.
 |
 |
The black corrugated plastic sheeting
was used as an alternative waterproofed cladding. With the lightweight material,
the sheeting was fixed to the pallet ‘stud wall’ with a staple gun, which was
the fastest and most efficient solution.
 |
 |
The sheeting was cut on an angle and
folded around the window opening, and was fixed with the staple gun; the fold
was done to improve waterproofing of the wall.
 |
 |
 |
 |
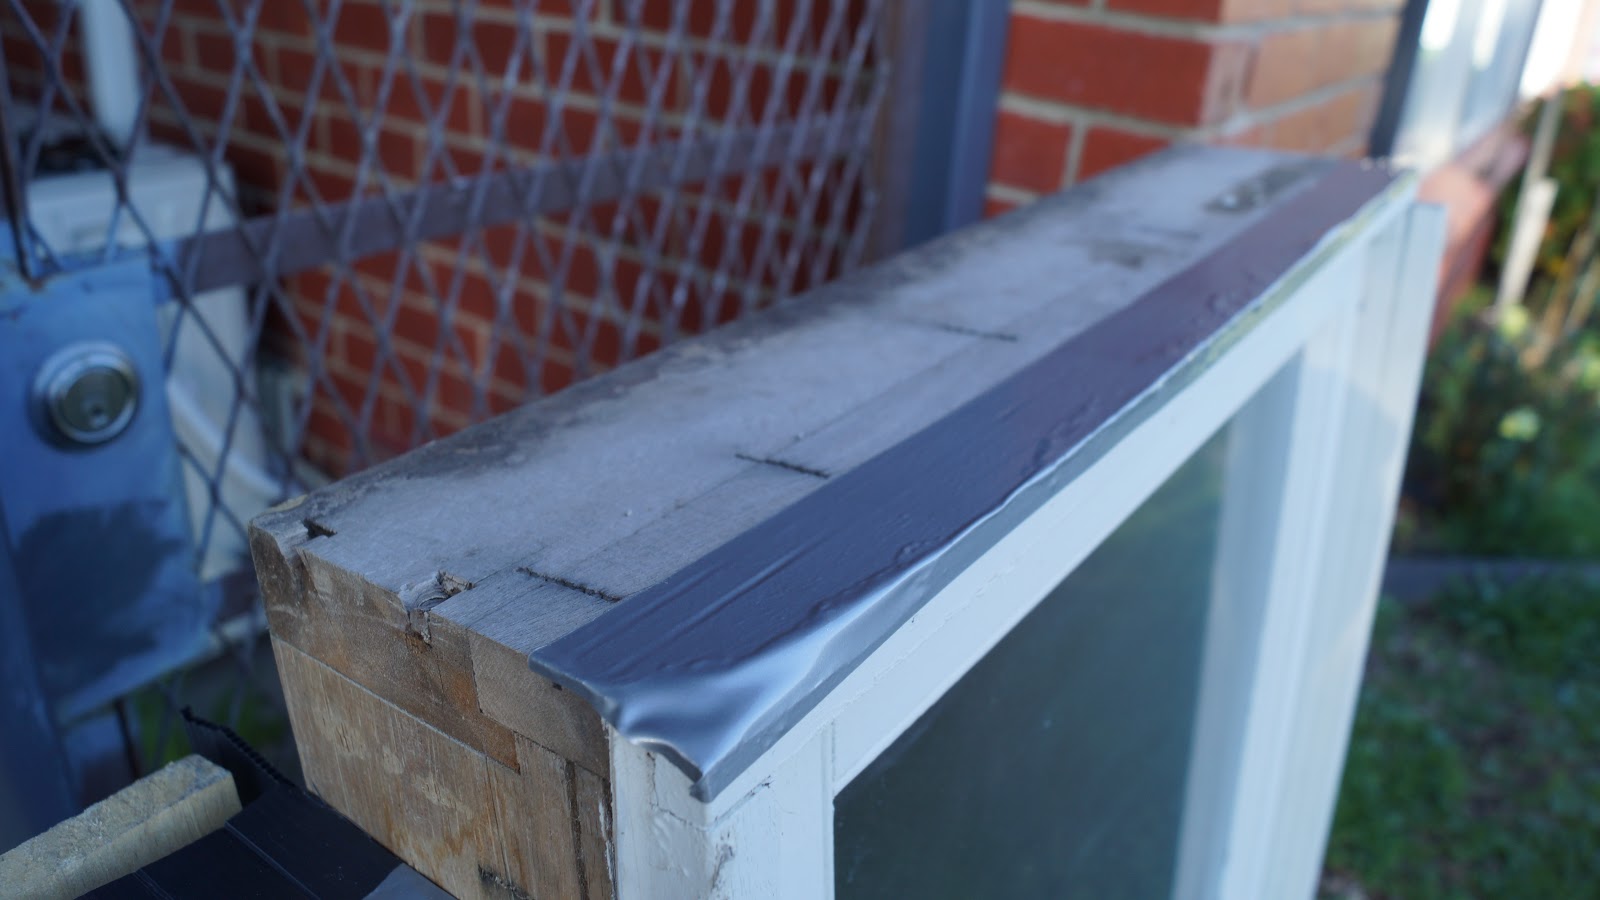
The window was fixed using
galvanised screws into the wall through the existing holes in the window.
For flashing, as an improvised solution,
duct tape was placed around the window opening to represent the flashing between
the stud wall and window frame. Though the tape was not a legitimate
application, we considered that the duct tape would serve its purpose of waterproofing
within our timeframe.

STAGE 4: GREEN WALL PLANTING AND FINISHING
 |
 |

With the internal wall finished,
the finished bottles were fixed into the exterior pallet wall, between the
slats using staple guns as the fixings.
 |
 |
 |
 |
Taking into consideration the
longevity of the wall, we chose plants which would flourish within the frame. Buying
select plants from Bunnings, and utilising local plants provided from one of
our member’s garden, we filled the bottles with soil and potting mix and planted the array of
plants diversely throughout the wall.
 |
 |
Also considering a roofing
solution, this was dismissed due to limited resources to fix the roof onto the
wall.
FINISHED :)


Comments
Post a Comment